Stage guide: all 12 stages
Exact obstacle positions, ring targets and the moves each stage asks for — written for the browser campaign on this website, not the complete mobile game.
Campaign at a glance
| Stage | Name | Distance | Ring target |
|---|---|---|---|
| 1 | First Steps | 720 m | 45 |
| 2 | Sky Bridges | 1,024 m | 130 |
| 3 | Magnet Meadows | 560 m | 75 |
| 4 | Totem Gates | 304 m | 27 |
| 5 | Coastal Arrival | 332 m | 30 |
| 6 | Harbour Run | 360 m | 33 |
| 7 | Ocean Sprint | 388 m | 36 |
| 8 | Eggman Encounter | Boss battle | No ring target |
| 9 | Coastal Switchback | 444 m | 42 |
| 10 | Rapid Rapids | 472 m | 45 |
| 11 | Final Ascent | 500 m | 48 |
| 12 | Eggman Showdown | Boss battle | No ring target |
Stage 1 — First Steps
- Environment
- Green Hill
- Distance
- 720 m
- Ring target
- 45
- Unlocks
- Sky Bridges
What’s new
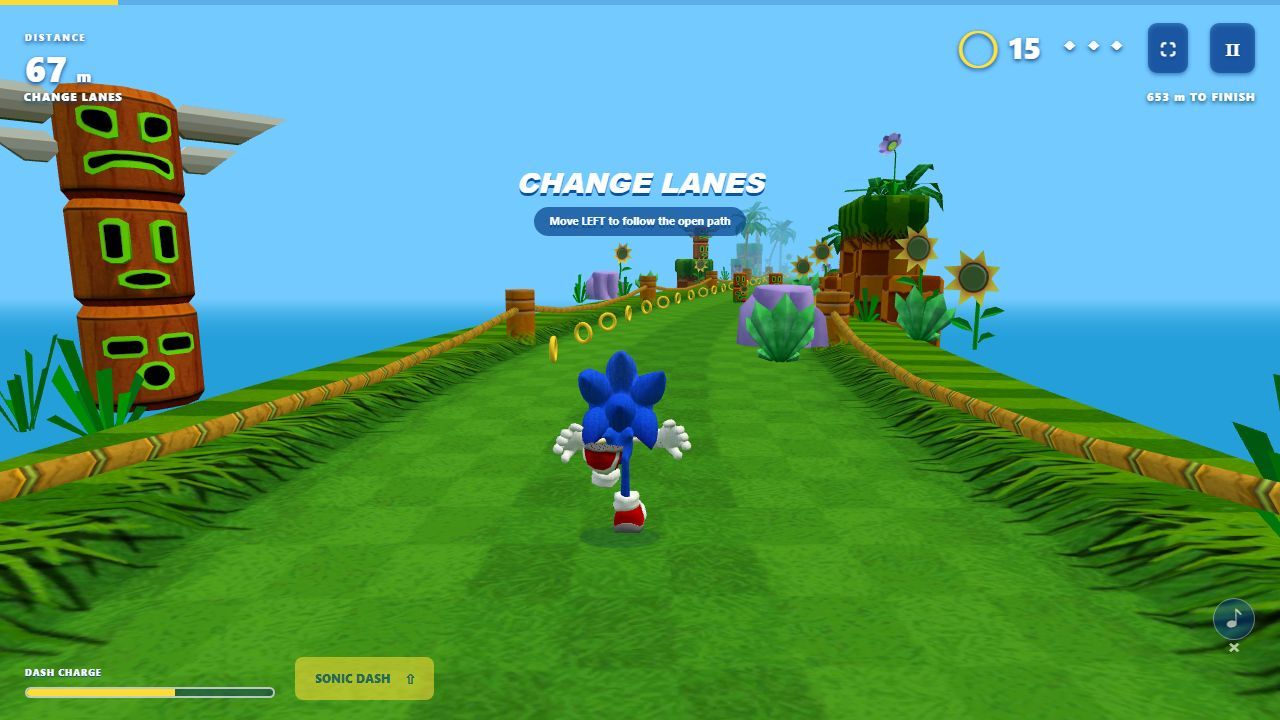
The opening stage teaches each control in a separate section before asking you to combine them. The first ring trail gives you time to settle into the centre lane.
Route advice
- Move left before the obstacle gate at 100 m.
- At 200 m, low barriers cover all three lanes — jump.
- At 340 m, the full-width challenge requires a roll.
- Take the right lane through the gate at 470 m, watch for the low barrier in that lane at 550 m, then return to the centre before the gate at 650 m.
Full obstacle table
| Distance | Left | Centre | Right | Clear lanes |
|---|---|---|---|---|
| 100 m | — | Block | Block | Left |
| 200 m | Jump | Jump | Jump | |
| 340 m | Roll | Roll | Roll | |
| 470 m | Block | Block | — | Right |
| 550 m | — | — | Jump | Left / Centre |
| 650 m | Block | — | Block | Centre |
No ordinary obstacles after 650 m; finish at 720 m.
Stage 2 — Sky Bridges
- Environment
- Green Hill with elevated wooden bridges
- Distance
- 1,024 m
- Ring target
- 130
- Unlocks
- Magnet Meadows and Ring Magnet
What’s new
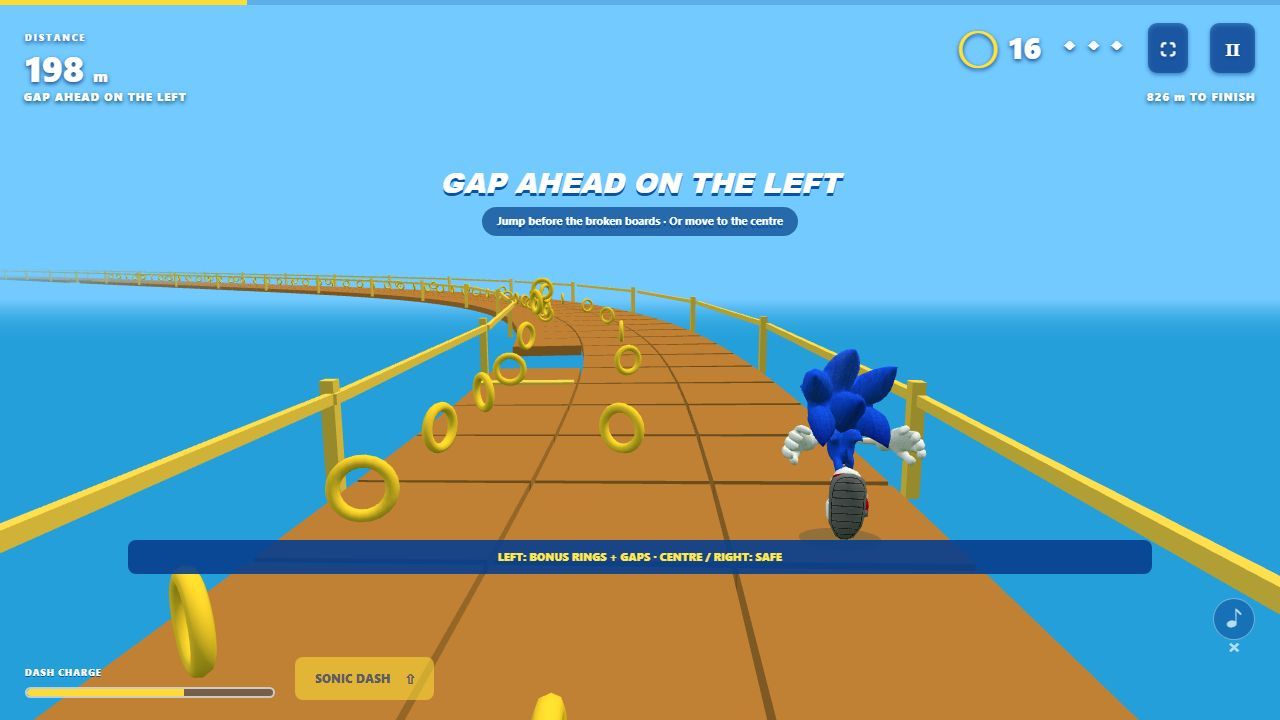
The first choice between safety and rings. Two bridge sections run from about 160–384 m and 640–864 m. The left lane has denser ring trails and four missing sections; the centre and right lanes avoid them.
Route advice
- Move right before the gates at 110 and 570 m.
- Left-lane gaps: 208–212, 304–308, 688–692 and 800–804 m. Yellow strips mark the take-off areas.
- Watch for the centre-lane roll obstacle at 470 m.
- Prepare for a centre-lane jump near 950 m.
Full obstacle table
| Distance | Left | Centre | Right | Clear lanes |
|---|---|---|---|---|
| 110 m | Block | Block | — | Right |
| 470 m | — | Roll | — | Left / Right |
| 570 m | Block | Block | — | Right |
| 950 m | — | Jump | — | Left / Right |
No ordinary obstacles after 950 m; finish at 1,024 m.
Stage 3 — Magnet Meadows
- Environment
- Green Hill
- Distance
- 560 m
- Ring target
- 75
- Unlocks
- Totem Gates
What’s new
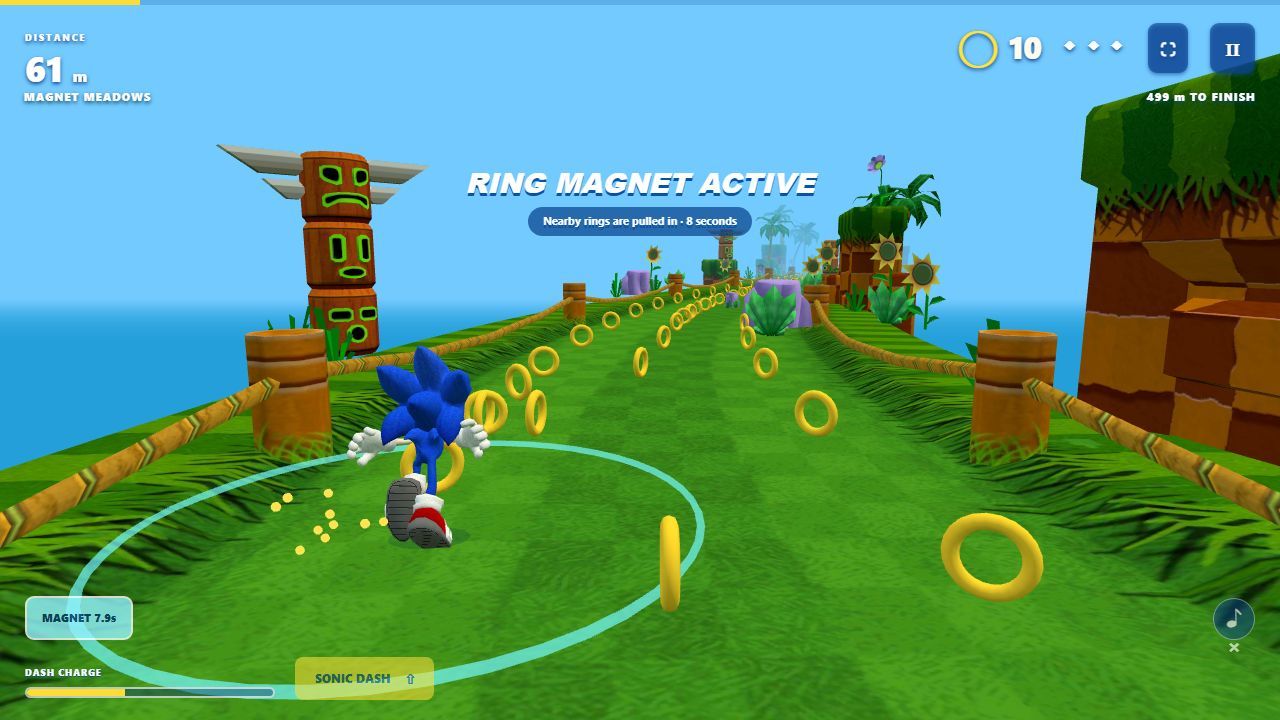
The first stage built around Ring Magnet. Extra three-lane ring rows run from 48 to 536 m.
Route advice
- The pattern repeats every 105 m: a gate leaves only the left lane open (56, 161, 266, 371, 476 m), then a centre jump (91, 196, 301, 406, 511 m), then a right-lane roll (126, 231, 336, 441 m).
- The left lane is clear at every obstacle row.
- After 511 m there are no ordinary obstacles; the final ring trail is in the centre lane from 542 to 556 m.
Full obstacle table
| Distance | Left | Centre | Right | Clear lanes |
|---|---|---|---|---|
| 56 m | — | Block | Block | Left |
| 91 m | — | Jump | — | Left / Right |
| 126 m | — | — | Roll | Left / Centre |
| 161 m | — | Block | Block | Left |
| 196 m | — | Jump | — | Left / Right |
| 231 m | — | — | Roll | Left / Centre |
| 266 m | — | Block | Block | Left |
| 301 m | — | Jump | — | Left / Right |
| 336 m | — | — | Roll | Left / Centre |
| 371 m | — | Block | Block | Left |
| 406 m | — | Jump | — | Left / Right |
| 441 m | — | — | Roll | Left / Centre |
| 476 m | — | Block | Block | Left |
| 511 m | — | Jump | — | Left / Right |
No ordinary obstacles after 511 m; finish at 560 m.
Stage 4 — Totem Gates
- Environment
- Green Hill
- Distance
- 304 m
- Ring target
- 27
- Unlocks
- Coastal Arrival
What’s new
A shorter course combining the basic obstacle types. The gates are fixed arrangements, not moving doors.
Route advice
- Gates at 56, 158 and 260 m leave only the centre lane open.
- Right-lane jump obstacles at 90 and 192 m; left-lane roll obstacles at 124 and 226 m.
- The centre lane is clear at every obstacle row.
Full obstacle table
| Distance | Left | Centre | Right | Clear lanes |
|---|---|---|---|---|
| 56 m | Block | — | Block | Centre |
| 90 m | — | — | Jump | Left / Centre |
| 124 m | Roll | — | — | Centre / Right |
| 158 m | Block | — | Block | Centre |
| 192 m | — | — | Jump | Left / Centre |
| 226 m | Roll | — | — | Centre / Right |
| 260 m | Block | — | Block | Centre |
No ordinary obstacles after 260 m; finish at 304 m.
Stage 5 — Coastal Arrival
- Environment
- Coastal tracks and docks
- Distance
- 332 m
- Ring target
- 30
- Unlocks
- Harbour Run
What’s new
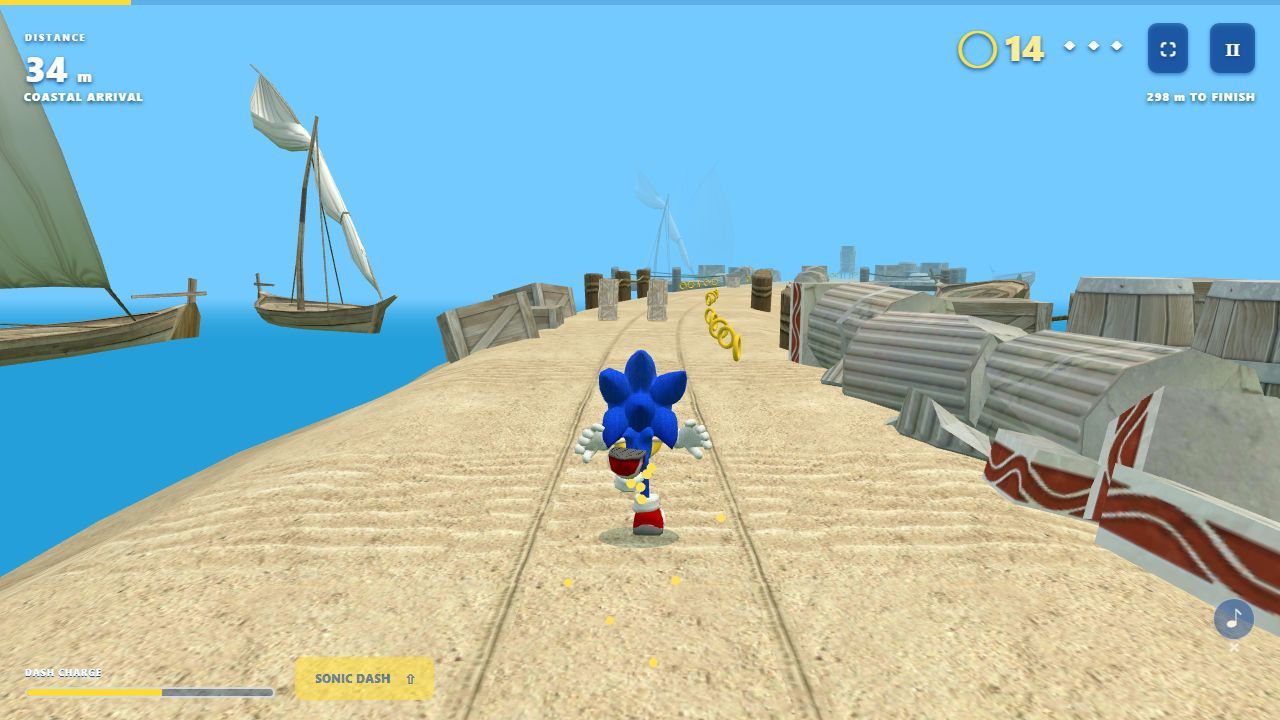
The second environment: sea, boats and dock structures, with coastal obstacle models replacing the Green Hill versions. The movement rules stay the same.
Route advice
- Gates at 56, 155 and 254 m leave only the right lane open.
- Left-lane jump obstacles at 89, 188 and 287 m; centre-lane roll obstacles at 122 and 221 m.
- The final ring trail (314–328 m) is in the left lane.
Full obstacle table
| Distance | Left | Centre | Right | Clear lanes |
|---|---|---|---|---|
| 56 m | Block | Block | — | Right |
| 89 m | Jump | — | — | Centre / Right |
| 122 m | — | Roll | — | Left / Right |
| 155 m | Block | Block | — | Right |
| 188 m | Jump | — | — | Centre / Right |
| 221 m | — | Roll | — | Left / Right |
| 254 m | Block | Block | — | Right |
| 287 m | Jump | — | — | Centre / Right |
No ordinary obstacles after 287 m; finish at 332 m.
Stage 6 — Harbour Run
- Environment
- Coastal tracks
- Distance
- 360 m
- Ring target
- 33
- Unlocks
- Ocean Sprint
What’s new
A faster starting pace, with obstacle groups spaced slightly closer than in Coastal Arrival.
Route advice
- Gates at 56, 152 and 248 m leave only the left lane open.
- Centre-lane jump obstacles at 88, 184 and 280 m; right-lane roll obstacles at 120, 216 and 312 m.
- The left lane is clear at every obstacle row. The final ring trail (342–356 m) is in the right lane.
Full obstacle table
| Distance | Left | Centre | Right | Clear lanes |
|---|---|---|---|---|
| 56 m | — | Block | Block | Left |
| 88 m | — | Jump | — | Left / Right |
| 120 m | — | — | Roll | Left / Centre |
| 152 m | — | Block | Block | Left |
| 184 m | — | Jump | — | Left / Right |
| 216 m | — | — | Roll | Left / Centre |
| 248 m | — | Block | Block | Left |
| 280 m | — | Jump | — | Left / Right |
| 312 m | — | — | Roll | Left / Centre |
No ordinary obstacles after 312 m; finish at 360 m.
Stage 7 — Ocean Sprint
- Environment
- Coastal tracks
- Distance
- 388 m
- Ring target
- 36
- Unlocks
- Eggman Encounter
What’s new
More restrictive combinations: some jump and roll groups include a blocker in another lane, removing easy escapes.
Route advice
- Gates at 56, 149, 242 and 335 m leave only the centre open.
- At 87, 180 and 273 m: centre blocked, right-lane jump — the left lane is clear.
- At 118, 211 and 304 m: left-lane roll, right blocked — the centre is clear.
Full obstacle table
| Distance | Left | Centre | Right | Clear lanes |
|---|---|---|---|---|
| 56 m | Block | — | Block | Centre |
| 87 m | — | Block | Jump | Left |
| 118 m | Roll | — | Block | Centre |
| 149 m | Block | — | Block | Centre |
| 180 m | — | Block | Jump | Left |
| 211 m | Roll | — | Block | Centre |
| 242 m | Block | — | Block | Centre |
| 273 m | — | Block | Jump | Left |
| 304 m | Roll | — | Block | Centre |
| 335 m | Block | — | Block | Centre |
No ordinary obstacles after 335 m; finish at 388 m.
Stage 8 — Eggman Encounter
- Environment
- Coastal boss encounter
- Objective
- Three successful attacks
- Unlocks
- Coastal Switchback
What’s new
The obstacle course is replaced by a repeating battle sequence. There is no distance finish — the stage ends when Eggman is defeated.
Route advice
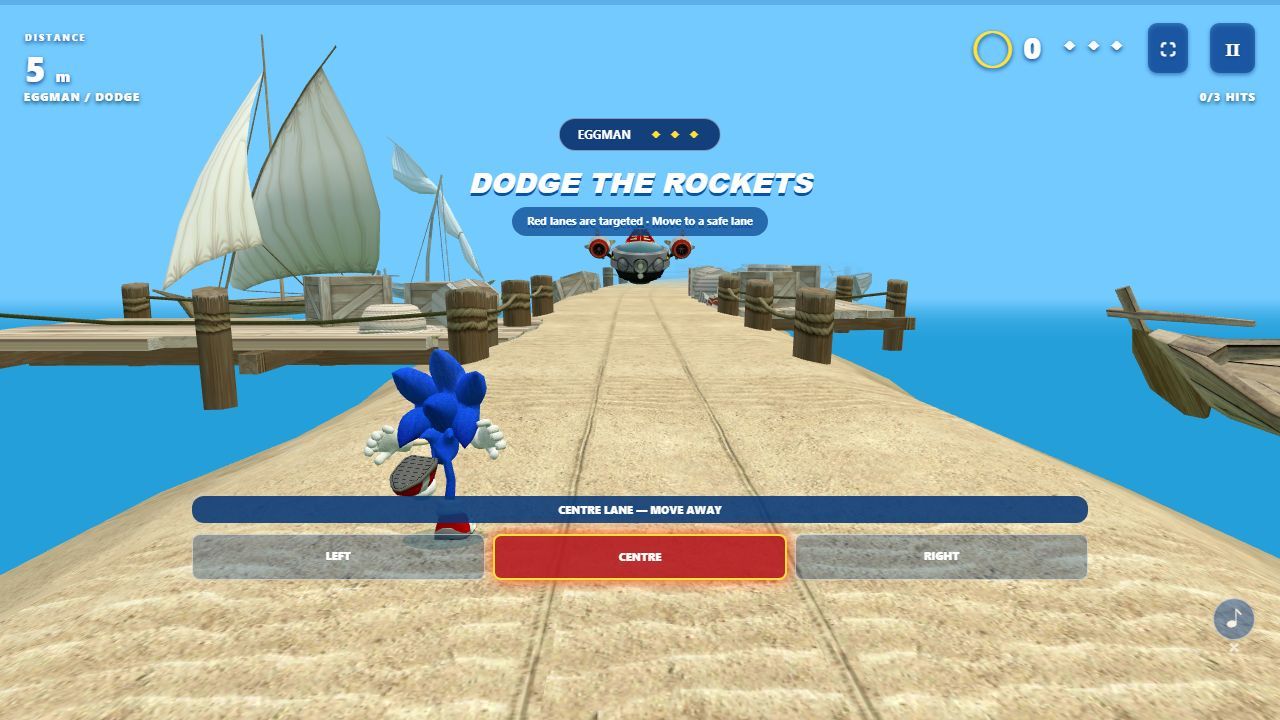
- Dodge a volley of five rockets. Each lane warning lasts one second before a 1.4-second flight — move out of the marked lane.
- Rocket lanes before the first hit: centre, left, right, centre, right. After hit one: left, right, centre, right, left. After hit two: right, centre, right, left, centre.
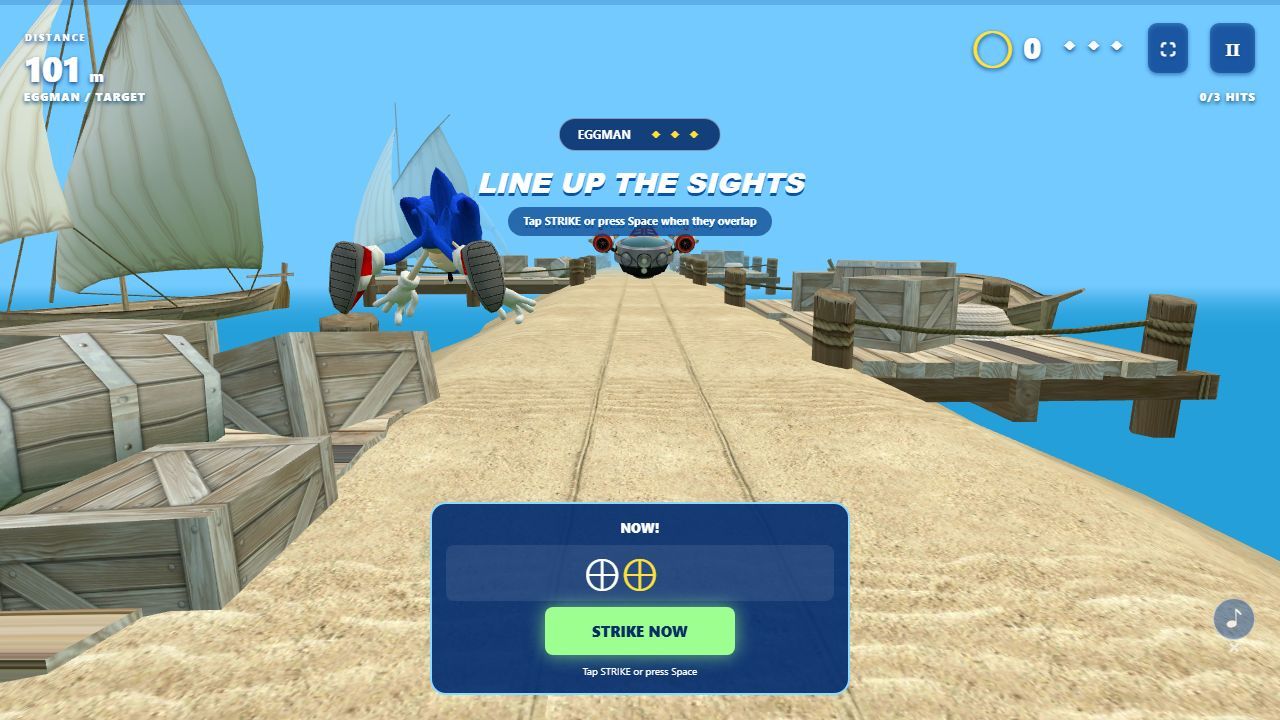
- After the volley you launch upward. Press Space or tap STRIKE when the button shows STRIKE NOW.
- A successful hit removes one of three hit points. An early, late or missed attack costs a shield and doesn’t advance the count.
Stage 9 — Coastal Switchback
- Environment
- Coastal tracks
- Distance
- 444 m
- Ring target
- 42
- Unlocks
- Rapid Rapids
What’s new
Regular running returns at a higher starting speed. It is still a three-lane course without branching roads.
Route advice
- Gates at 56, 143, 230, 317 and 404 m leave only the left lane open.
- At 85, 172, 259 and 346 m: left blocked, centre jump — the right lane is clear.
- At 114, 201, 288 and 375 m: centre blocked, right-lane roll — the left lane is clear.
Full obstacle table
| Distance | Left | Centre | Right | Clear lanes |
|---|---|---|---|---|
| 56 m | — | Block | Block | Left |
| 85 m | Block | Jump | — | Right |
| 114 m | — | Block | Roll | Left |
| 143 m | — | Block | Block | Left |
| 172 m | Block | Jump | — | Right |
| 201 m | — | Block | Roll | Left |
| 230 m | — | Block | Block | Left |
| 259 m | Block | Jump | — | Right |
| 288 m | — | Block | Roll | Left |
| 317 m | — | Block | Block | Left |
| 346 m | Block | Jump | — | Right |
| 375 m | — | Block | Roll | Left |
| 404 m | — | Block | Block | Left |
No ordinary obstacles after 404 m; finish at 444 m.
Stage 10 — Rapid Rapids
- Environment
- Coastal tracks
- Distance
- 472 m
- Ring target
- 45
- Unlocks
- Final Ascent
What’s new
A faster pace and tighter spacing between obstacle groups. There is no water-current mechanic.
Route advice
- Gates every 84 m from 56 m (56, 140, 224, 308, 392 m) leave only the centre open.
- At 84, 168, 252, 336 and 420 m: centre blocked, right-lane jump — the left lane is clear.
- At 112, 196, 280 and 364 m: left-lane roll, right blocked — the centre is clear.
Full obstacle table
| Distance | Left | Centre | Right | Clear lanes |
|---|---|---|---|---|
| 56 m | Block | — | Block | Centre |
| 84 m | — | Block | Jump | Left |
| 112 m | Roll | — | Block | Centre |
| 140 m | Block | — | Block | Centre |
| 168 m | — | Block | Jump | Left |
| 196 m | Roll | — | Block | Centre |
| 224 m | Block | — | Block | Centre |
| 252 m | — | Block | Jump | Left |
| 280 m | Roll | — | Block | Centre |
| 308 m | Block | — | Block | Centre |
| 336 m | — | Block | Jump | Left |
| 364 m | Roll | — | Block | Centre |
| 392 m | Block | — | Block | Centre |
| 420 m | — | Block | Jump | Left |
No ordinary obstacles after 420 m; finish at 472 m.
Stage 11 — Final Ascent
- Environment
- Coastal tracks
- Distance
- 500 m
- Ring target
- 48
- Unlocks
- Eggman Showdown
What’s new
The fastest regular stage at the start of a run and the longest of the later coastal courses. There is no vertical-climbing system.
Route advice
- Gates at 56, 137, 218, 299, 380 and 461 m leave only the right lane open.
- At 83, 164, 245, 326 and 407 m: left-lane jump, right blocked — the centre is clear.
- At 110, 191, 272, 353 and 434 m: left blocked, centre roll — the right lane is clear.
Full obstacle table
| Distance | Left | Centre | Right | Clear lanes |
|---|---|---|---|---|
| 56 m | Block | Block | — | Right |
| 83 m | Jump | — | Block | Centre |
| 110 m | Block | Roll | — | Right |
| 137 m | Block | Block | — | Right |
| 164 m | Jump | — | Block | Centre |
| 191 m | Block | Roll | — | Right |
| 218 m | Block | Block | — | Right |
| 245 m | Jump | — | Block | Centre |
| 272 m | Block | Roll | — | Right |
| 299 m | Block | Block | — | Right |
| 326 m | Jump | — | Block | Centre |
| 353 m | Block | Roll | — | Right |
| 380 m | Block | Block | — | Right |
| 407 m | Jump | — | Block | Centre |
| 434 m | Block | Roll | — | Right |
| 461 m | Block | Block | — | Right |
No ordinary obstacles after 461 m; finish at 500 m.
Stage 12 — Eggman Showdown
- Environment
- Coastal boss encounter
- Objective
- Three successful attacks
- Unlocks
- Campaign completion
What’s new
Eggman returns with a harder rocket phase: six rockets per volley instead of five, launched slightly closer together and travelling slightly faster. It is not a separate multi-phase boss system.
Route advice
- Survive the volley, launch upward and strike when the sights align.
- The attack timing window is the same as in stage 8.
- Three successful hits still win the battle.